Making the Shoulders
The shoulders are the mounting point for 'business end' of the dalek: The gun and plunger. According to the TV show it is also where the squid lurks inside.
The traditional way to build a NSD shoulder plug is to follow the approach taken by Mike Tucker building layers up in concentric rings around a vertical axis. First an inner core is made, then layers of plasticote are added above and below the slat depression and a third ring round the bottom.
This seemed like a lot of work requiring modeling skills that I don't have. So I decided to try a new approach building the shoulders up as horizontal layers. To do this I made patterns using Solidworks, printed them out at full size on the plotter and stuck them to sheets of MDF to use as patterns.
This was the easy part. A few hours work with the jigsaw and sanders made for an impressive stack shot. Well I was impressed anyway.
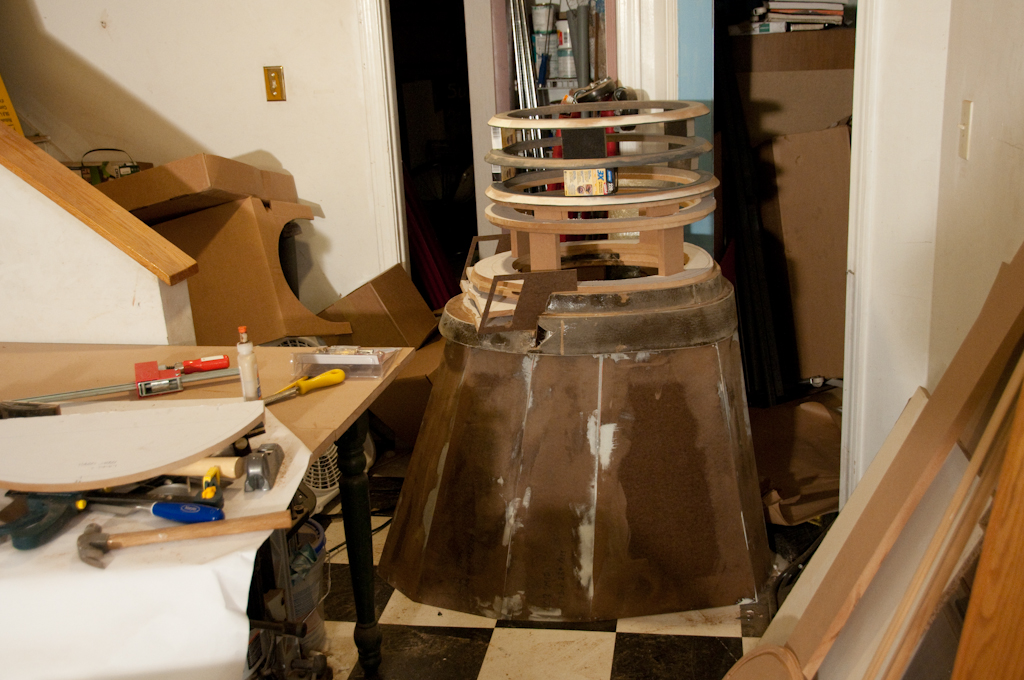
Filling in the gaps took a lot more time. The flat parts are filled in using hardboard and the curvy parts are filled using thick cardboard that is then coated with a thin layer of epoxy to seal it. To make each skin I first cut a piece to rough shape and pinned it in place. Then I marked out where to cut, removed it, made the cut with scissors and replaced.
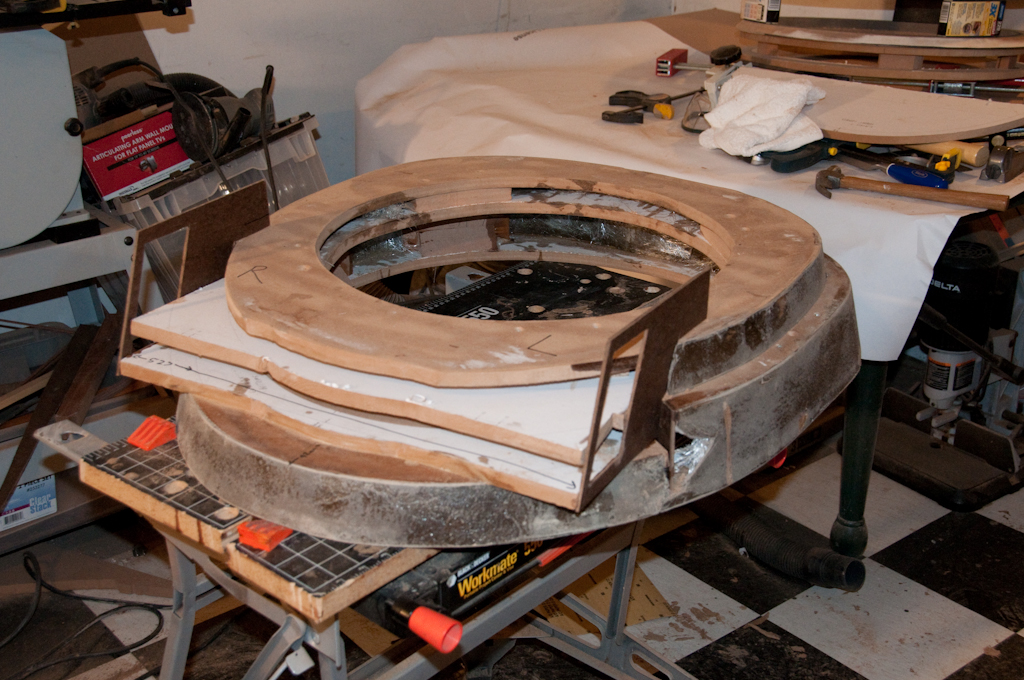
Getting the gun boxes straight was very fiddly. Until the epoxy sets, the parts are not strong enough to support lots of clamps, even using lightweight ones. So it was a case of applying a clamp in one place, setting another, removing the first and so on.
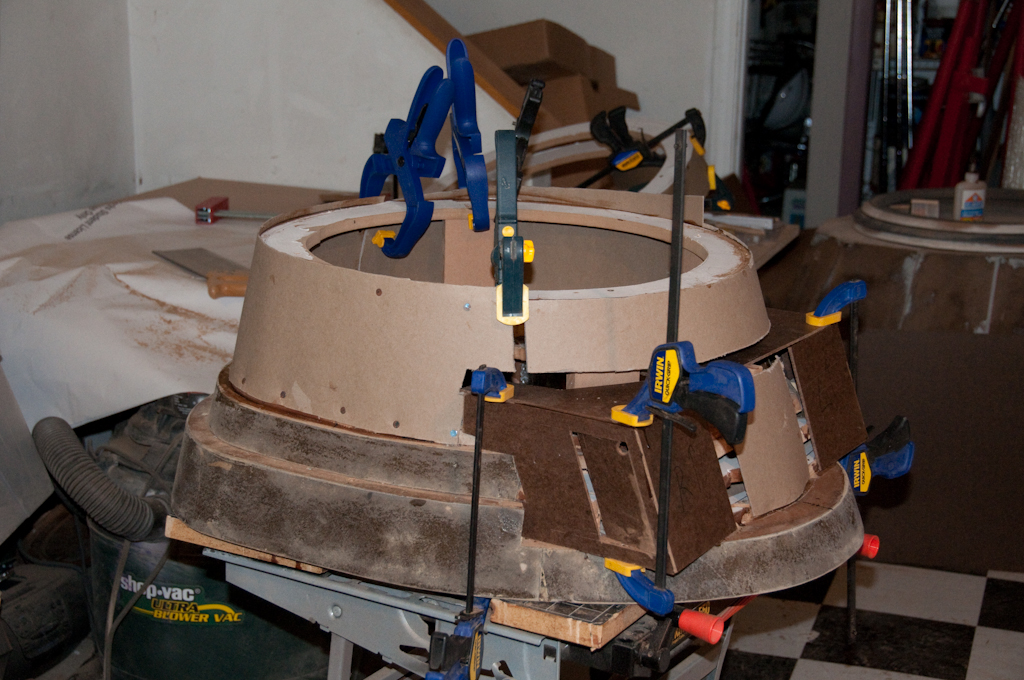
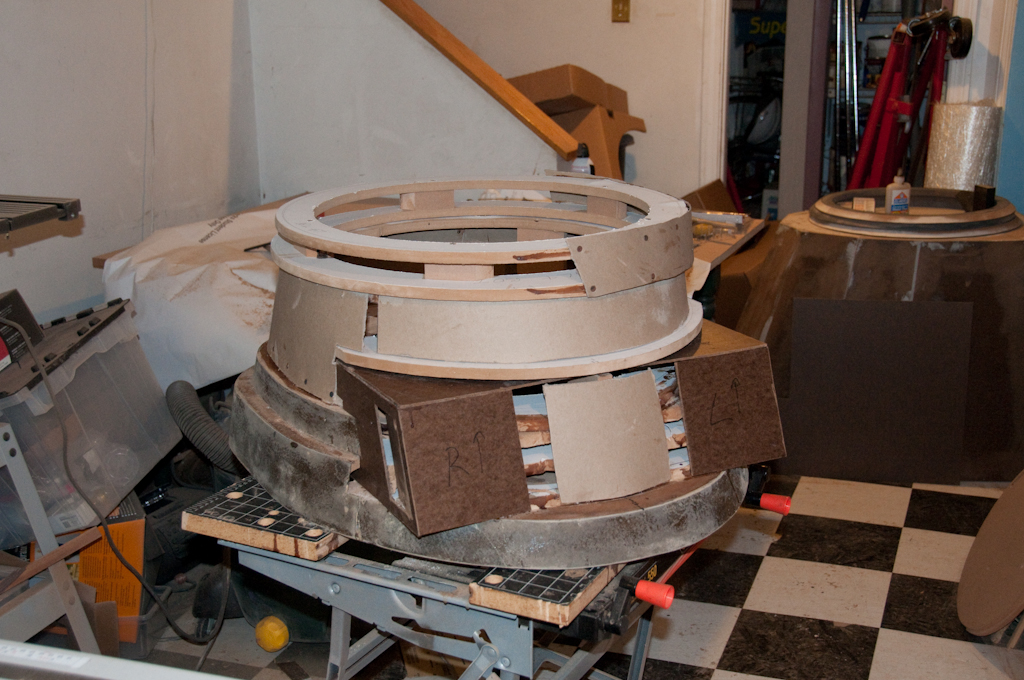
Finishing the top ring
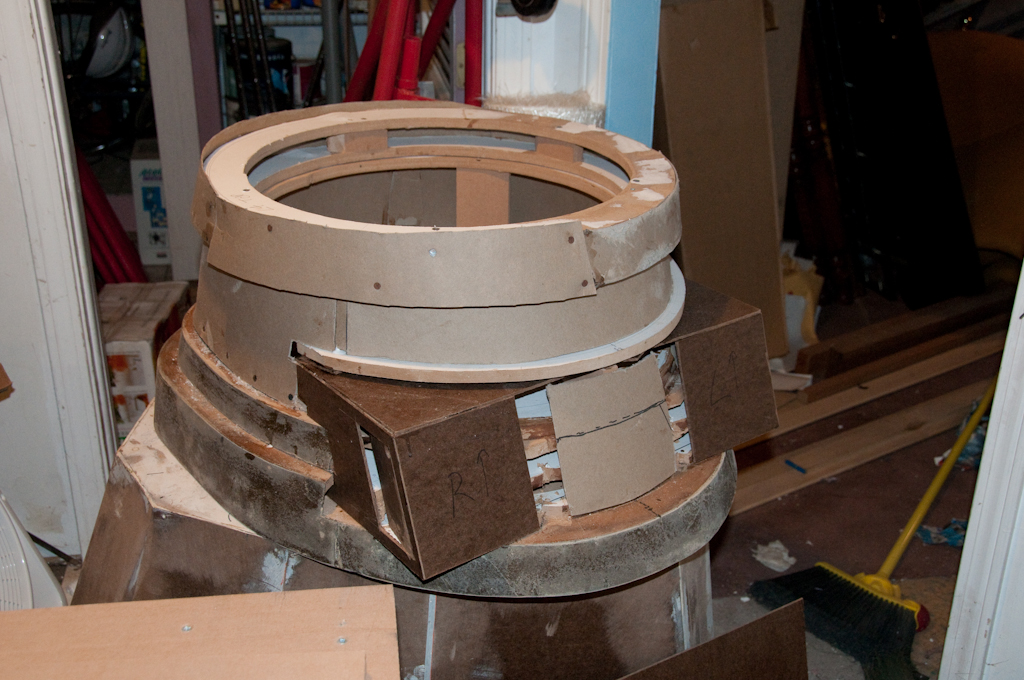
After a skim coat of body filler, the skin stiffens up a lot. If I was going to make a Shawcraft dalek and didn't want to make a mold, this is the way I would do it. If the result ended up too flexible, the is would be easily cured with an extra coat on the inside.
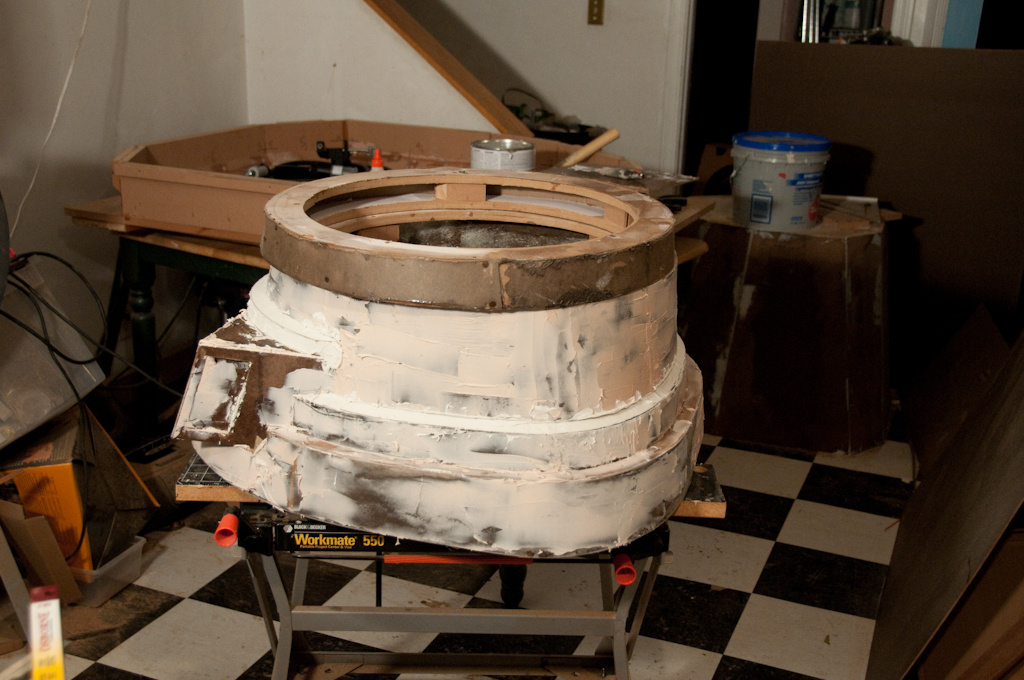
More filler to get the bevel on the slat recess right and sanding.
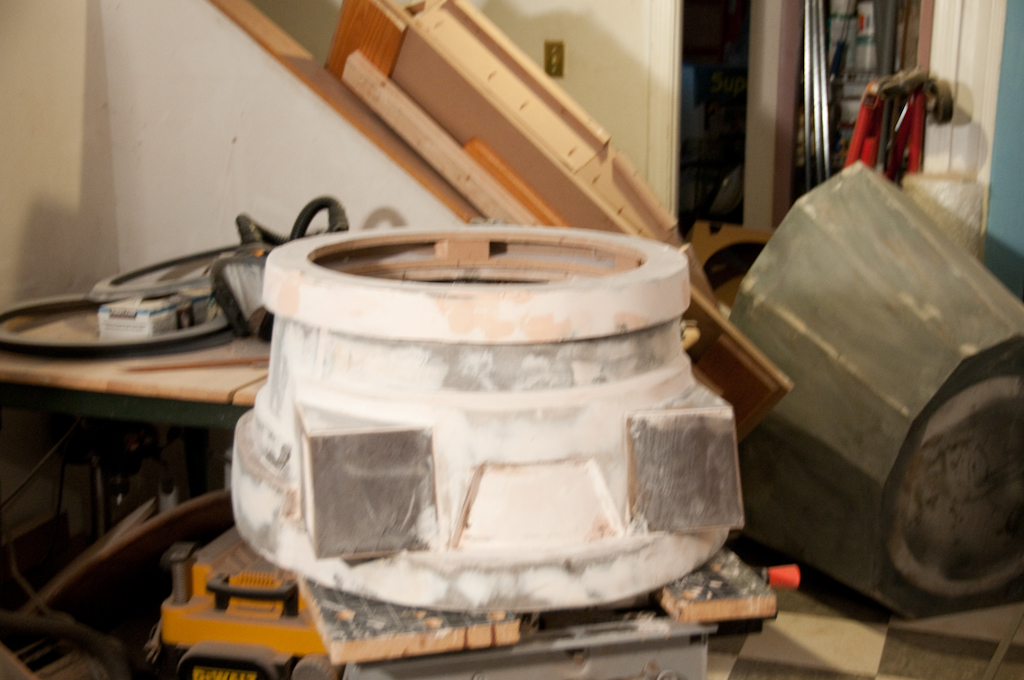
Sanding.
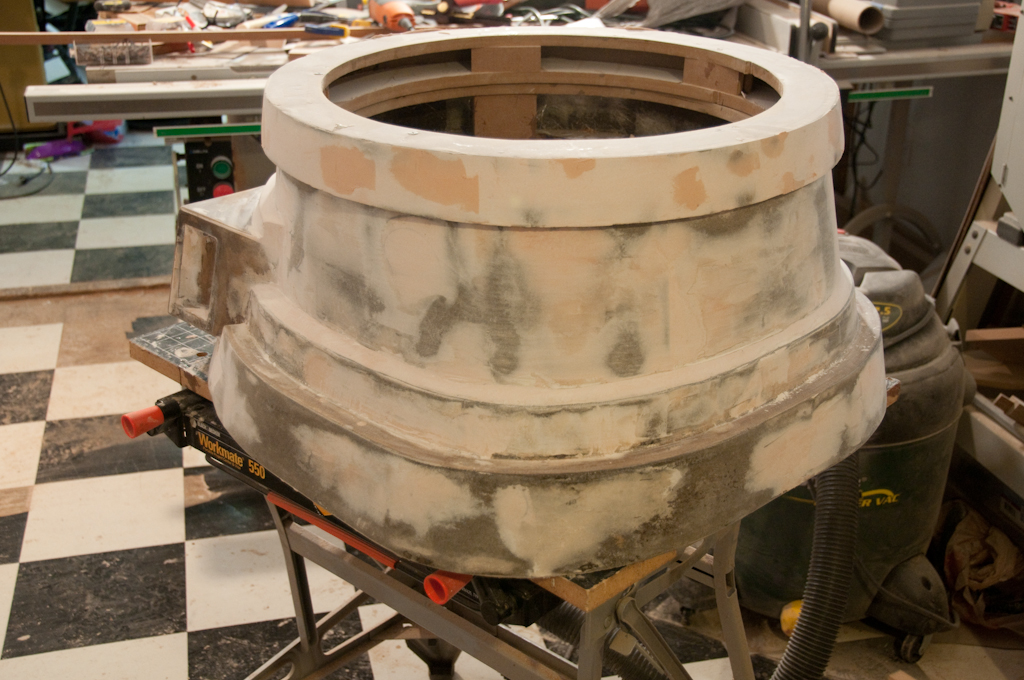 Filler.
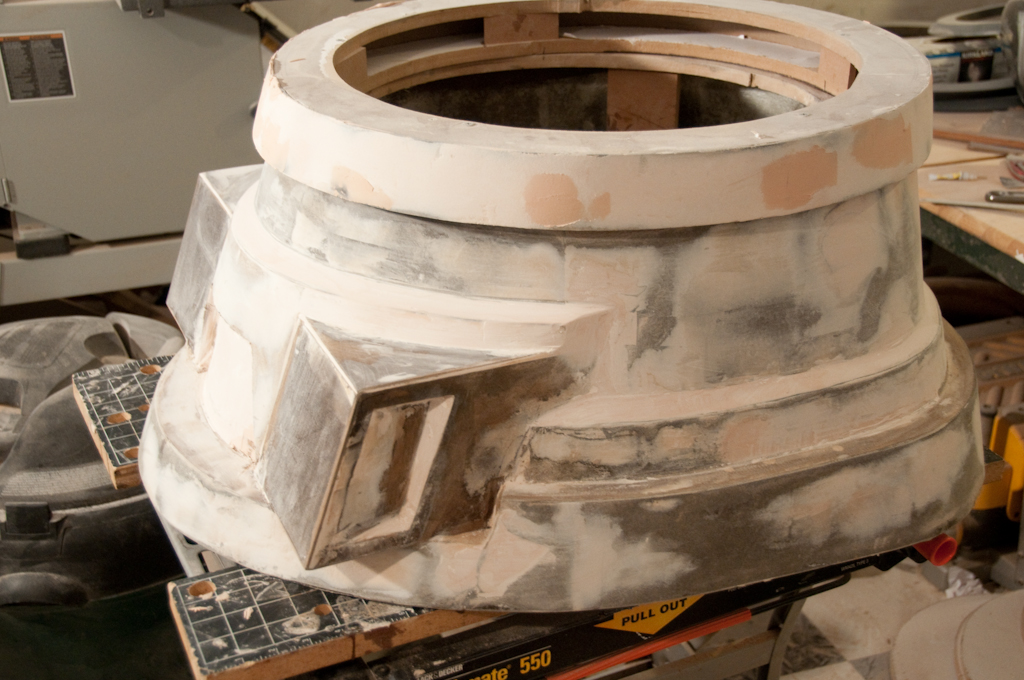
Sanding.
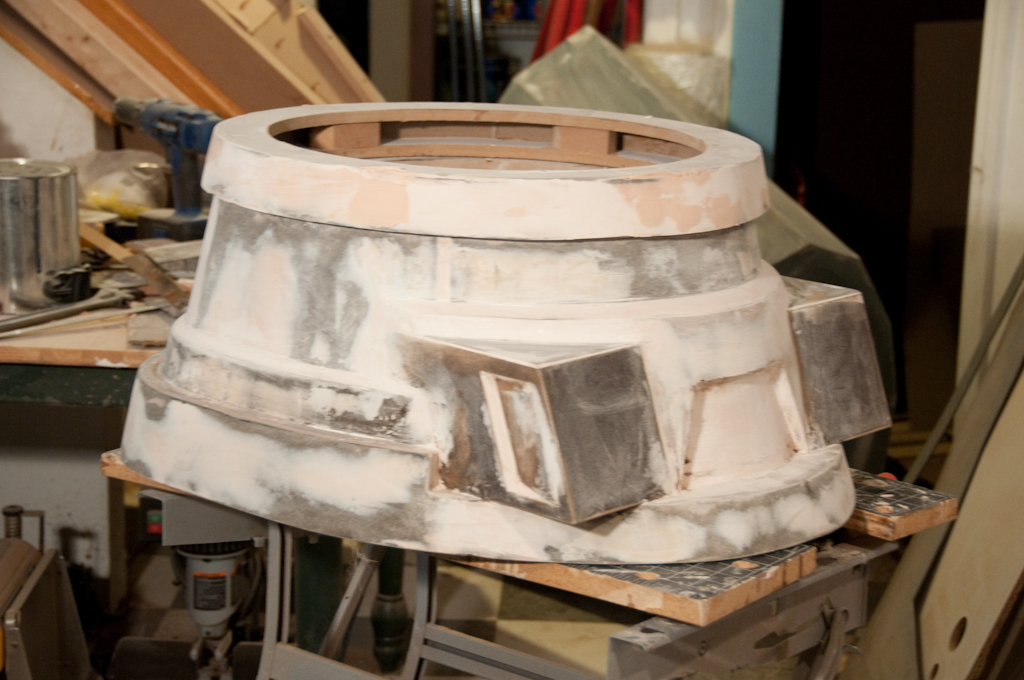
More filler to get that front detail right.
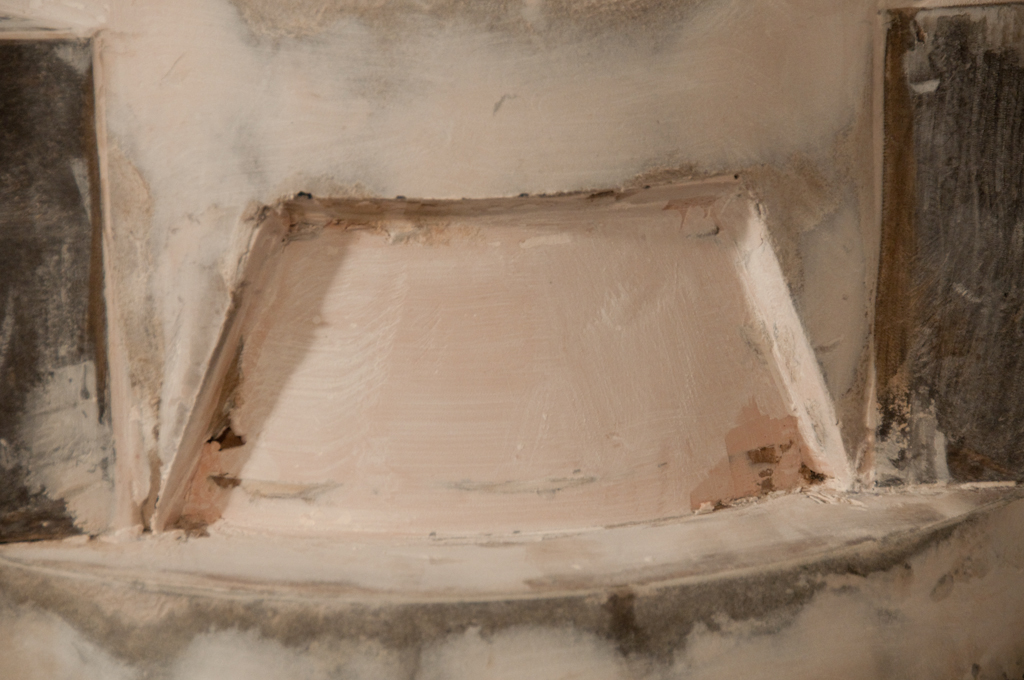
After much more sanding and filler, the final plug ready to make a mold.
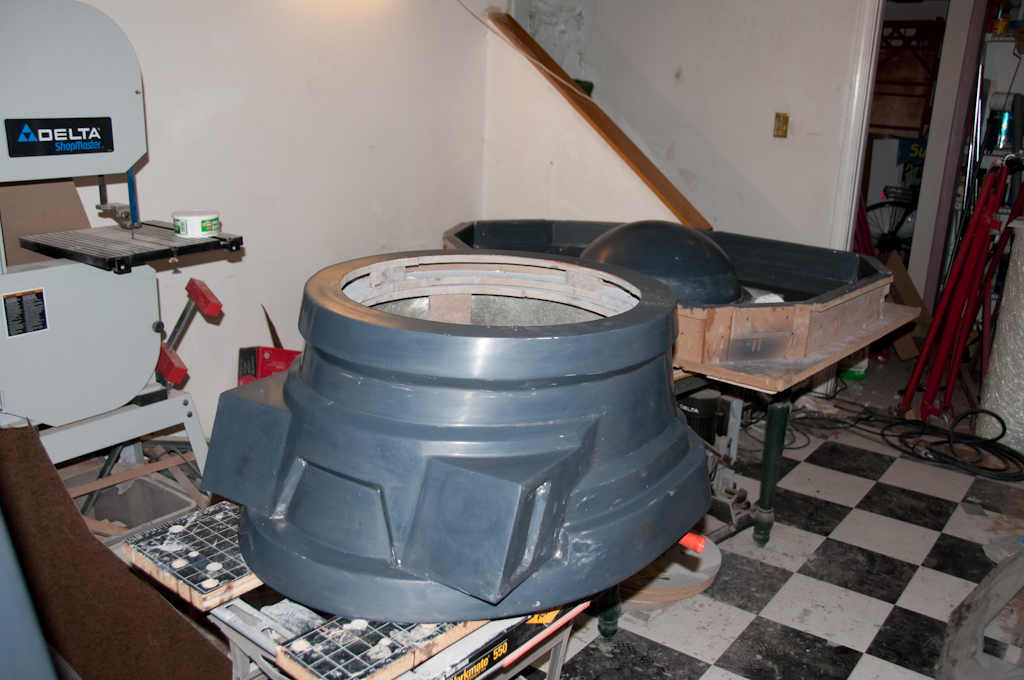
Anyone who knows about GRP will see from the photo that I wasn't very good at it. This was one of my very first attempts at fiberglass and the complexity of the part was way above my ability level. I was also making a big mistake in using one layer of thick mat per cover. For a piece this complicated, two layers of thin mat are a much better way to go.
What saved me was advice I got to work lots of choppies into every nook and cranny before applying the first cover of mat.
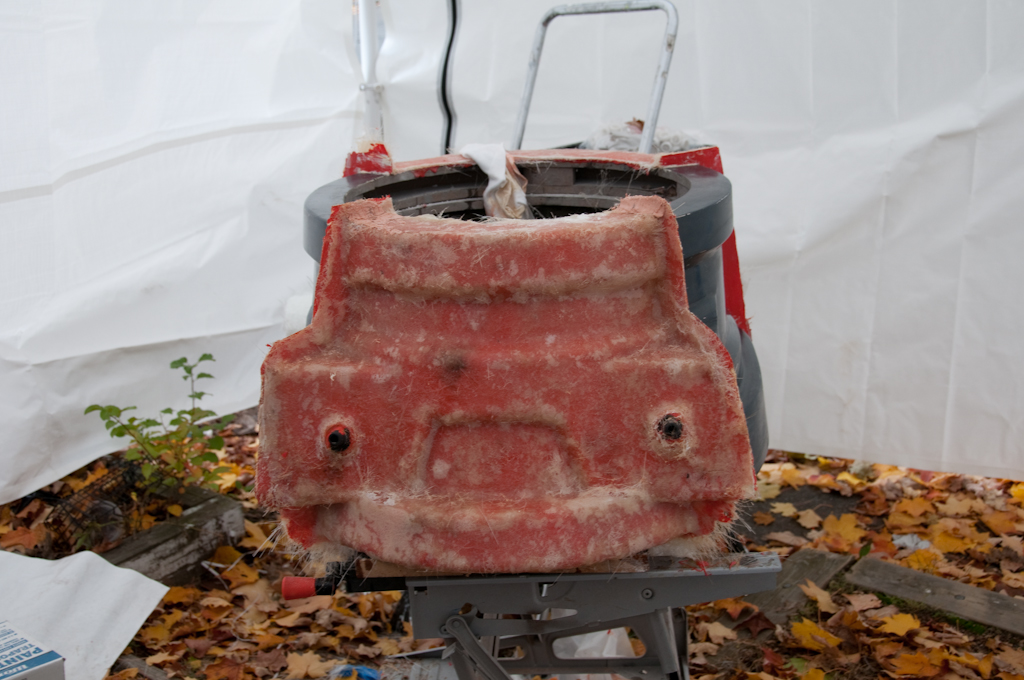
As you can see, the mold is a four parter. While it could be done in three that would have taken me longer as each part would be a separate session. Making the mold in four parts allowed me to work on two at once. At this point the parting boards for the front and back have been removed and I am waiting for the parting wax to set on the mold flange so that I can buff it out and apply more.
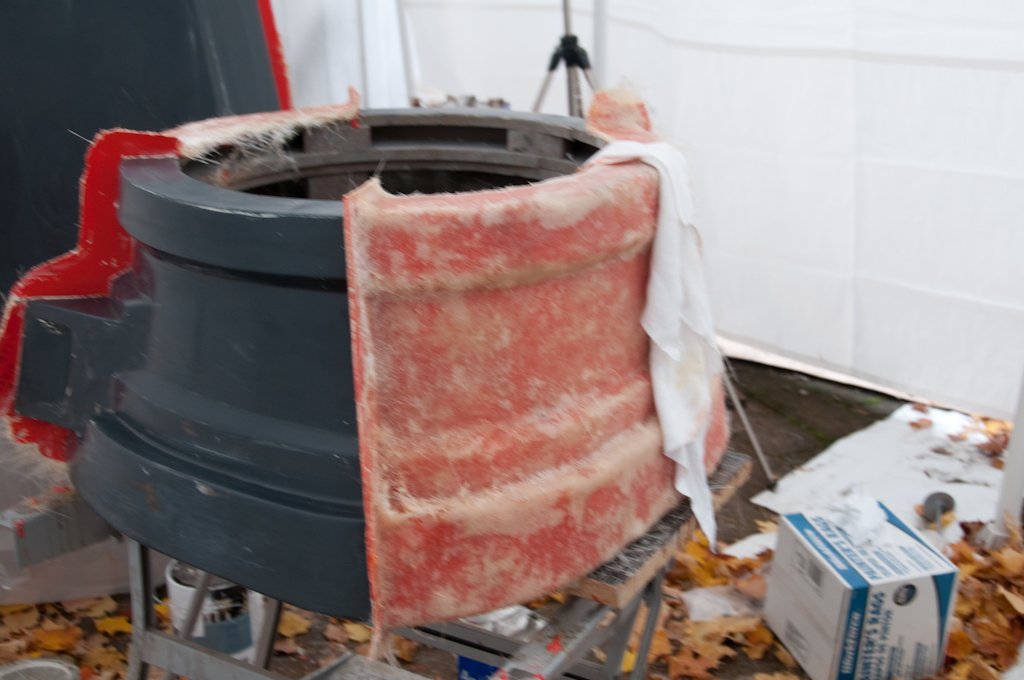
Gelcoat for the sides. The strange protuberances from the gun boxes are there to connect a hose so that I can use it for parting from the mold. In the event, this wasn't necessary.
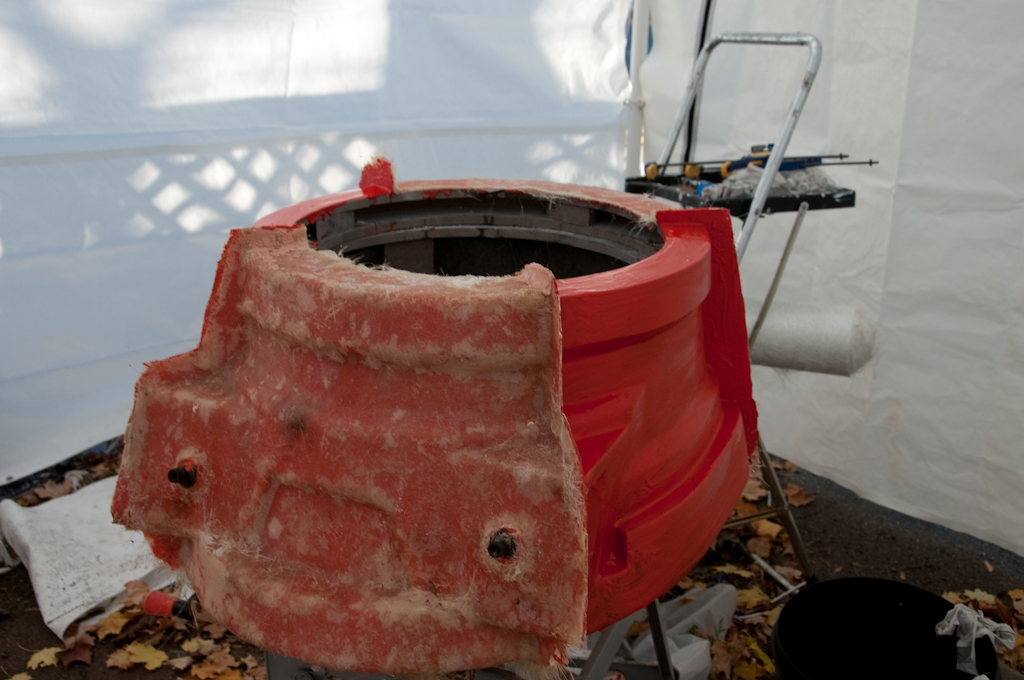
The plug after demolding. Impressively unscathed.
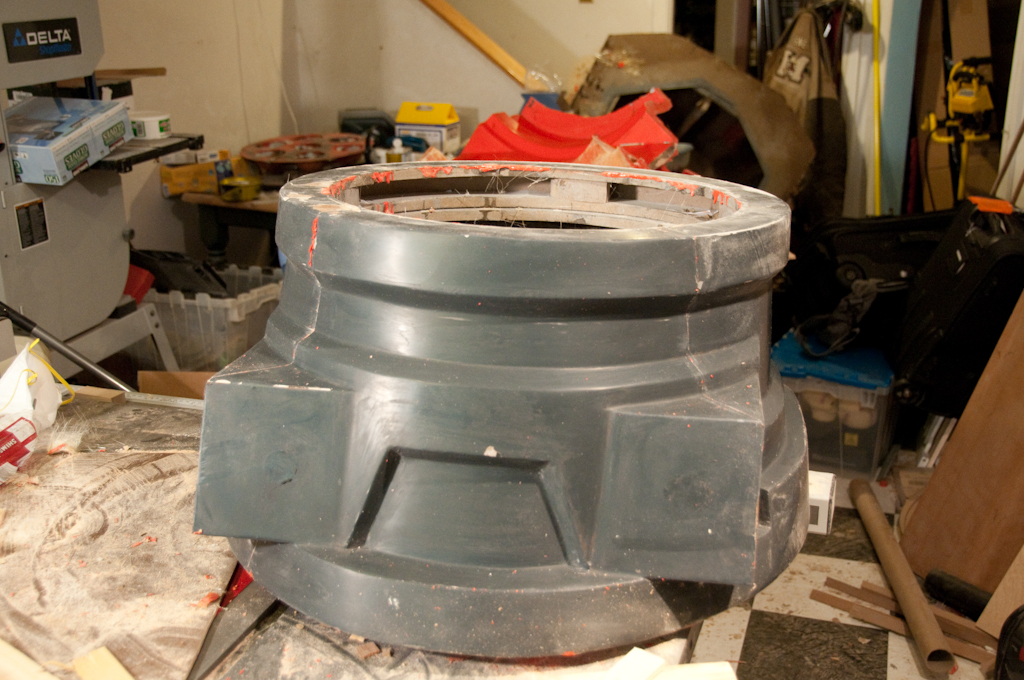
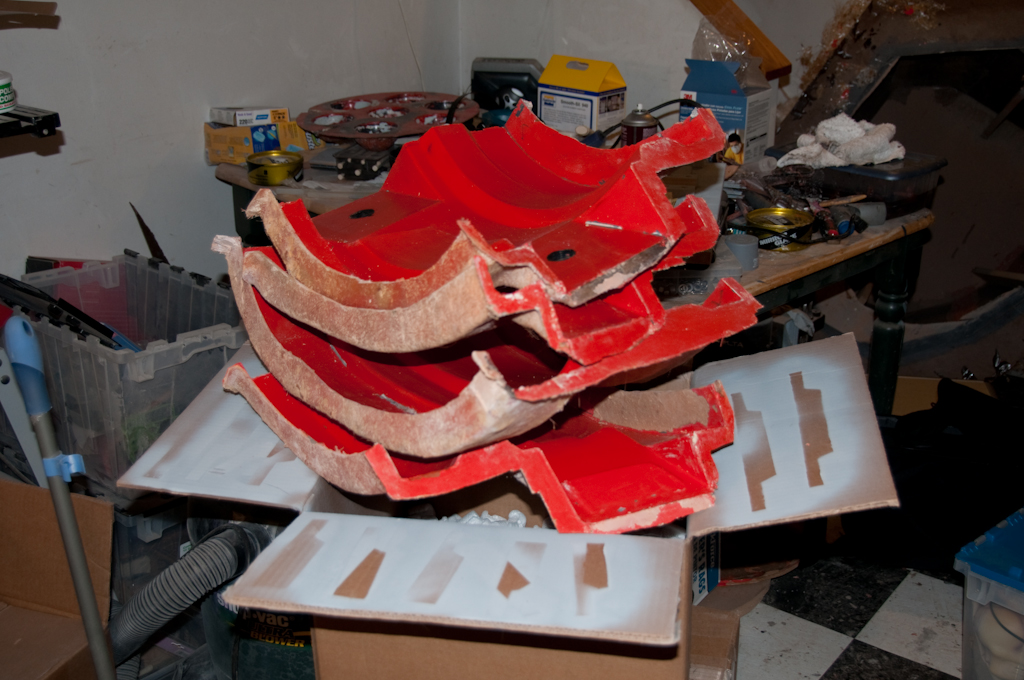
All four parts of the shoulder mold. It was only at this point that I realized another big advantage to making a four part mold is that it is a lot easier to store.
After many coats of wax are added and buffed off, we can final start on the gelcoat for a part.
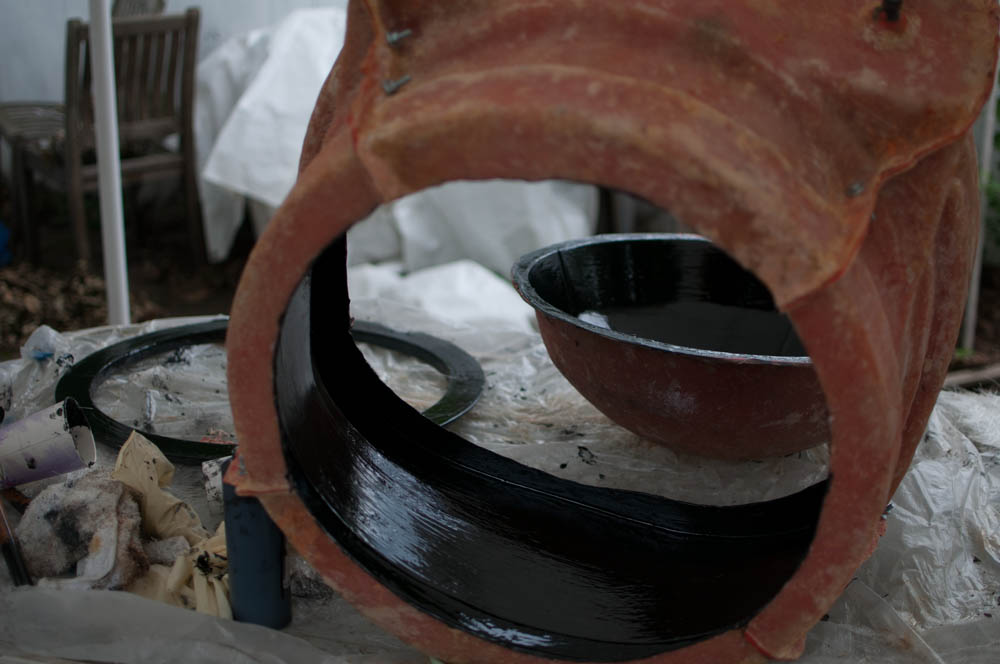
View from the bottom.

Detailing the shoulders
The dalek shoulders are detailed with 14 slats. There are three different types and each slat has to be cut to fit its precise position on the shoulders.
On the BBC props, the slats are fixed to the shoulders using ordinary screws and the holes are covered up by a resin cap. Since I was building Dalek Sec, I decided to use stainless steel coach bolts instead for a better look. This added far more weight than the result justified.
Since the main detail on the slat is a recess, I decided to make a mold for one slat of each type and make slats from the mold. In the event the molds didn't survive the demolding process and so I patched up the slats and used them to make molds for the two types of slat I needed multiple copies of. As a result, I had no mold to make a front slat for Dalek Llama who is also plungerless for the same reason.
The front of each gun box has a resin relief detail applied. After trying to make a plug from hardboard, I discovered that I could have the part 3D printed by Shapeworks. I also had plugs printed for three of the neck block details. The printed parts were a little too rough to use directly but came up fine after minimal sanding and filling.
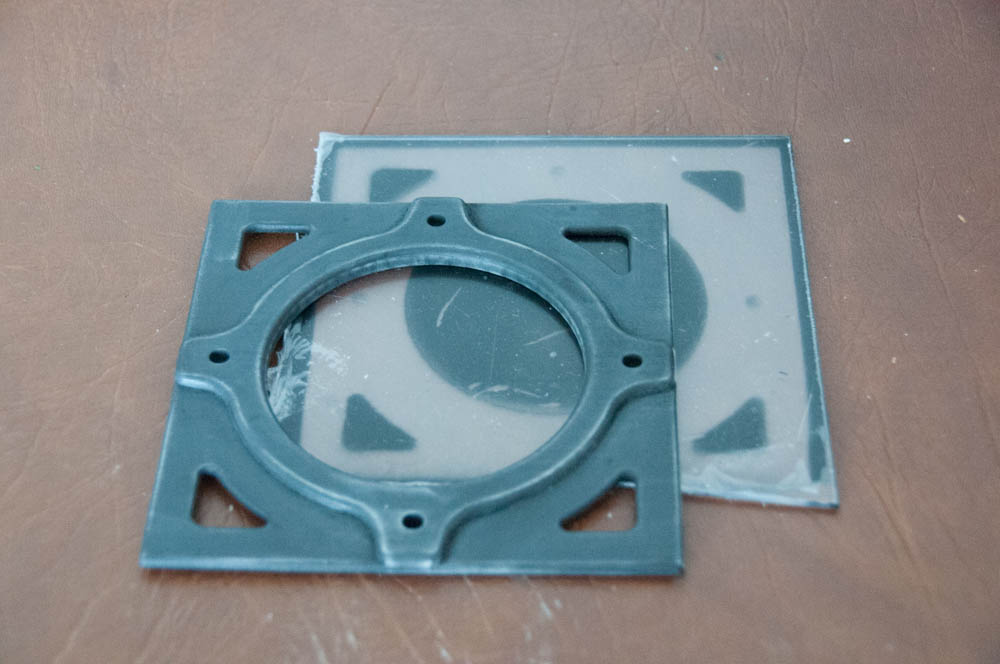
If I had owned a 3D printer at the time I would have 3D printed the eyeball, plunger and possibly the slats. Llama's front slat has been printed and is waiting for sanding and paint.